
A SIP endpoint lets you forward calls for a Business platform user to a SIP address, such as a SIP trunk, answering service or individual SIP user. When you select that user as a User (App or SIP) call destination in a service schedule, calls are sent to both their eligible uConnected app devices and their configured SIP endpoint.
Before you begin
You’ll need the destination SIP address from your SIP provider or system administrator. Enter it in the format user@host. You can also include an optional port, for example jack@sip.example.com.au:5061.
Add a SIP endpoint
- Log into your uConnected Dashboard.
- Open Users & Settings.
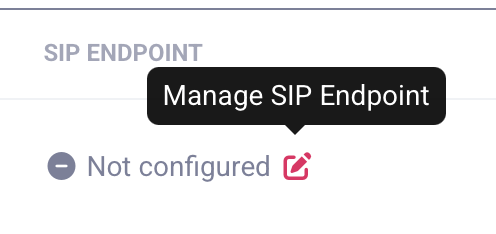
- Find the user you want to configure, then select the edit icon under SIP Endpoint.
- Enter the destination in the SIP address field.
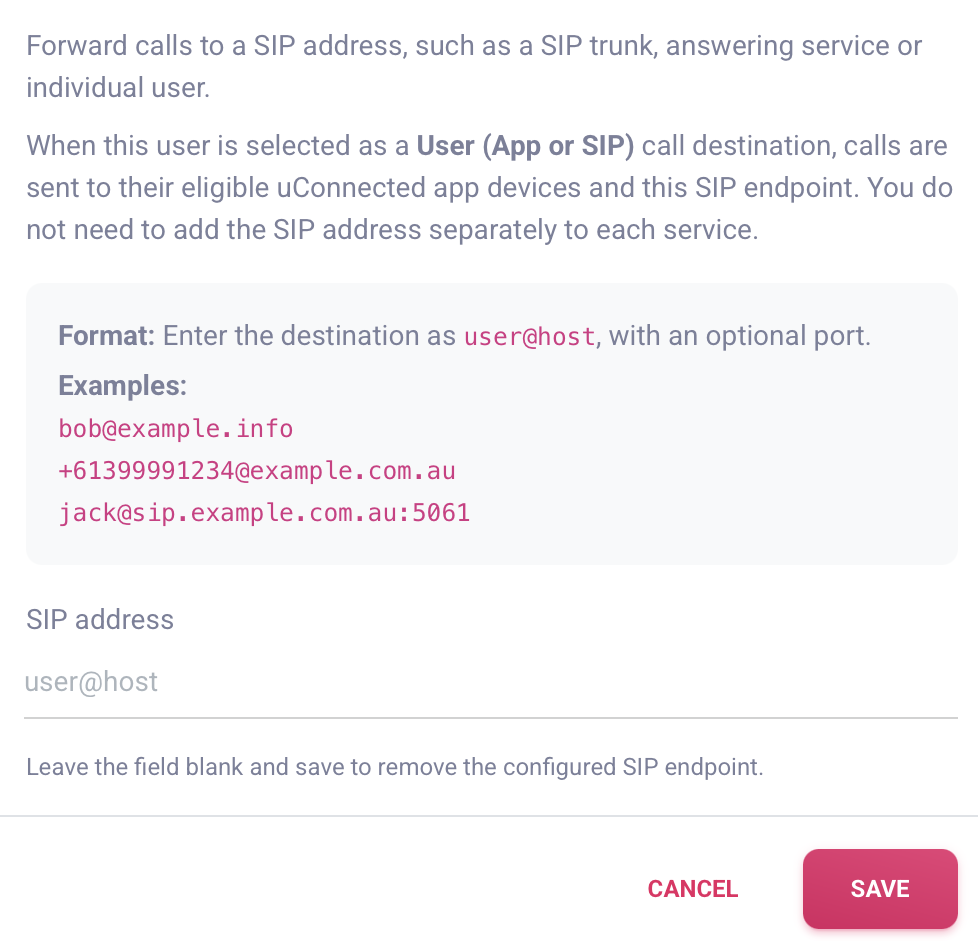
- Select Save.
Add the user to a schedule
After configuring the endpoint, add the user to the relevant service on the scheduling page as you normally would:
- Open the schedule for the service you want to update.
- Add or edit a call destination and select the user as User (App or SIP).
- Save the schedule.
Calls to that destination will ring the user’s eligible uConnected app devices and SIP endpoint. For more help with schedules, see Scheduling When Calls Are Forwarded.
Edit a SIP endpoint
Return to Users & Settings, select the edit icon under SIP Endpoint, replace the SIP address and select Save.
Delete a SIP endpoint
Return to Users & Settings, select the edit icon under SIP Endpoint, clear the SIP address field and select Save. This removes the SIP endpoint from the user.
If the endpoint does not ring or calls do not connect as expected, see Troubleshooting SIP Endpoints.